


I finished building a blog website using React, Bootstrap, and Sass! I added some cool features to make it more interactive and user-friendly.
The purpose of this project was to provide a simple and easy-to-use interface for users to experiment with and test their front-end development skills.
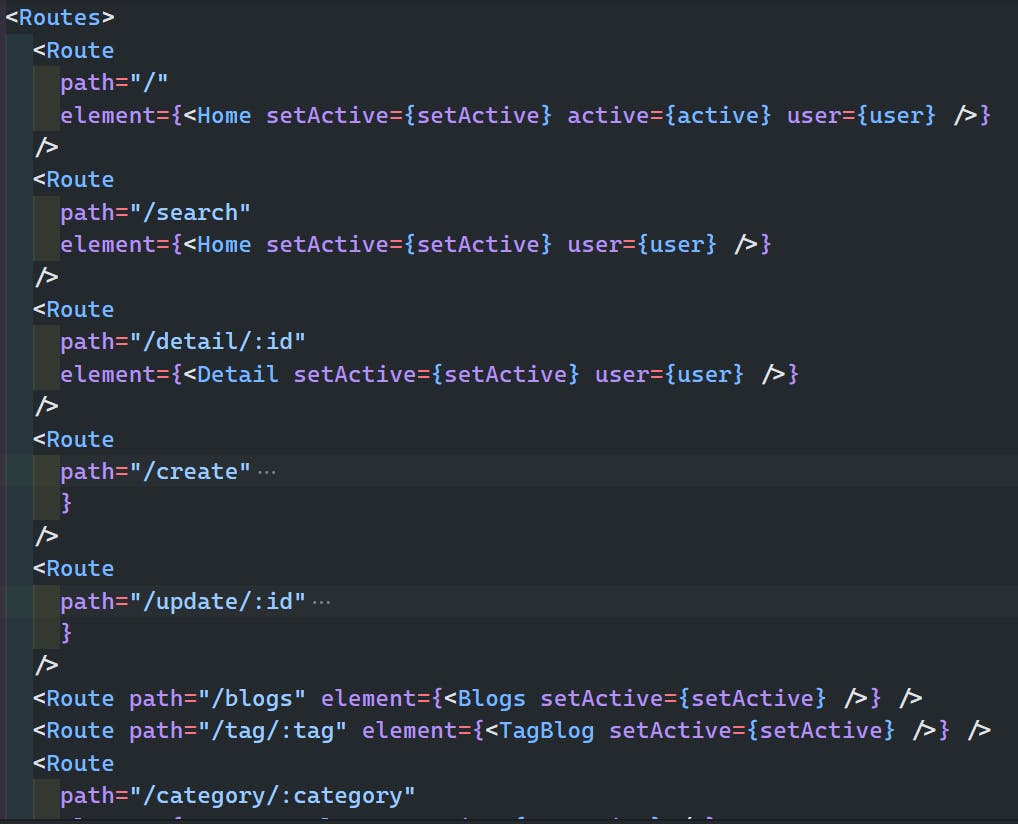
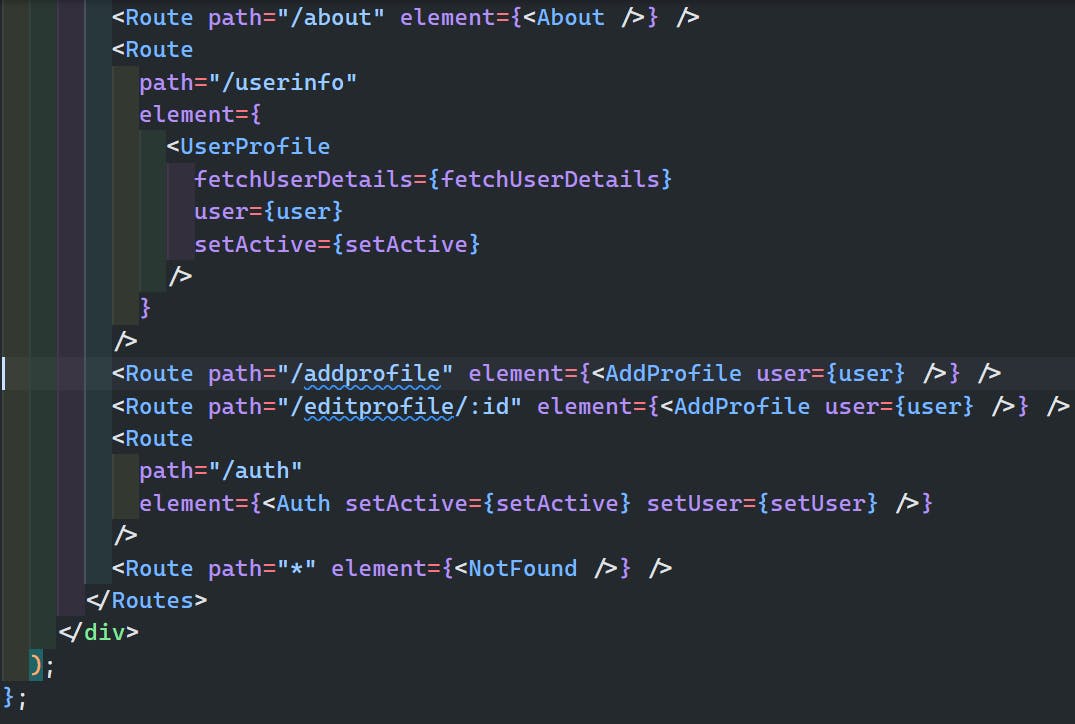
React Router DOM
I used
react-router-domto create 8 pages:signin/signup,home,blogs,create/update,details,user info/add profie,aboutanderror.Users can sign in/sign out on one page, just as they can create or update on one page.
In the
signin page, I added a 'Sign Up' button that redirects the user to the signup page when clicked , if user want to create an account.On the
signup page, I created a signup form that allowed the user to enter their firstname ,lastname, email and password. I also included validation for the form to ensure that the user enters valid information. After the form is successfully submitted, I usedFirebase Authenticationto create a new user account and then redirected the user to the home page.On the
home page, where users can see all the available blogs.On the
blog pageuser can see the list of blogs.On the
details pageuser can read the blogs.Our
user info pagedisplays the users profile information. If the user has not created a profile, they can do so on theAdd Profilepage.Invalid or collapsed URL paths will display an
error pagein our React Blog project.
The use of React Router DOM to navigate to this page makes it super easy to access more information about a product.
1.SignIn & SignOut Page
I added Firebase Authentication to my project so that only authenticated users can access the page. First, I created a Firebase project and enabled Firebase Authentication in the Firebase Console. Then, I added the Firebase SDK to my project and implemented the authentication flow in my app. This involved creating sign-up and login pages, allowing users to create accounts or log in with their existing credentials.
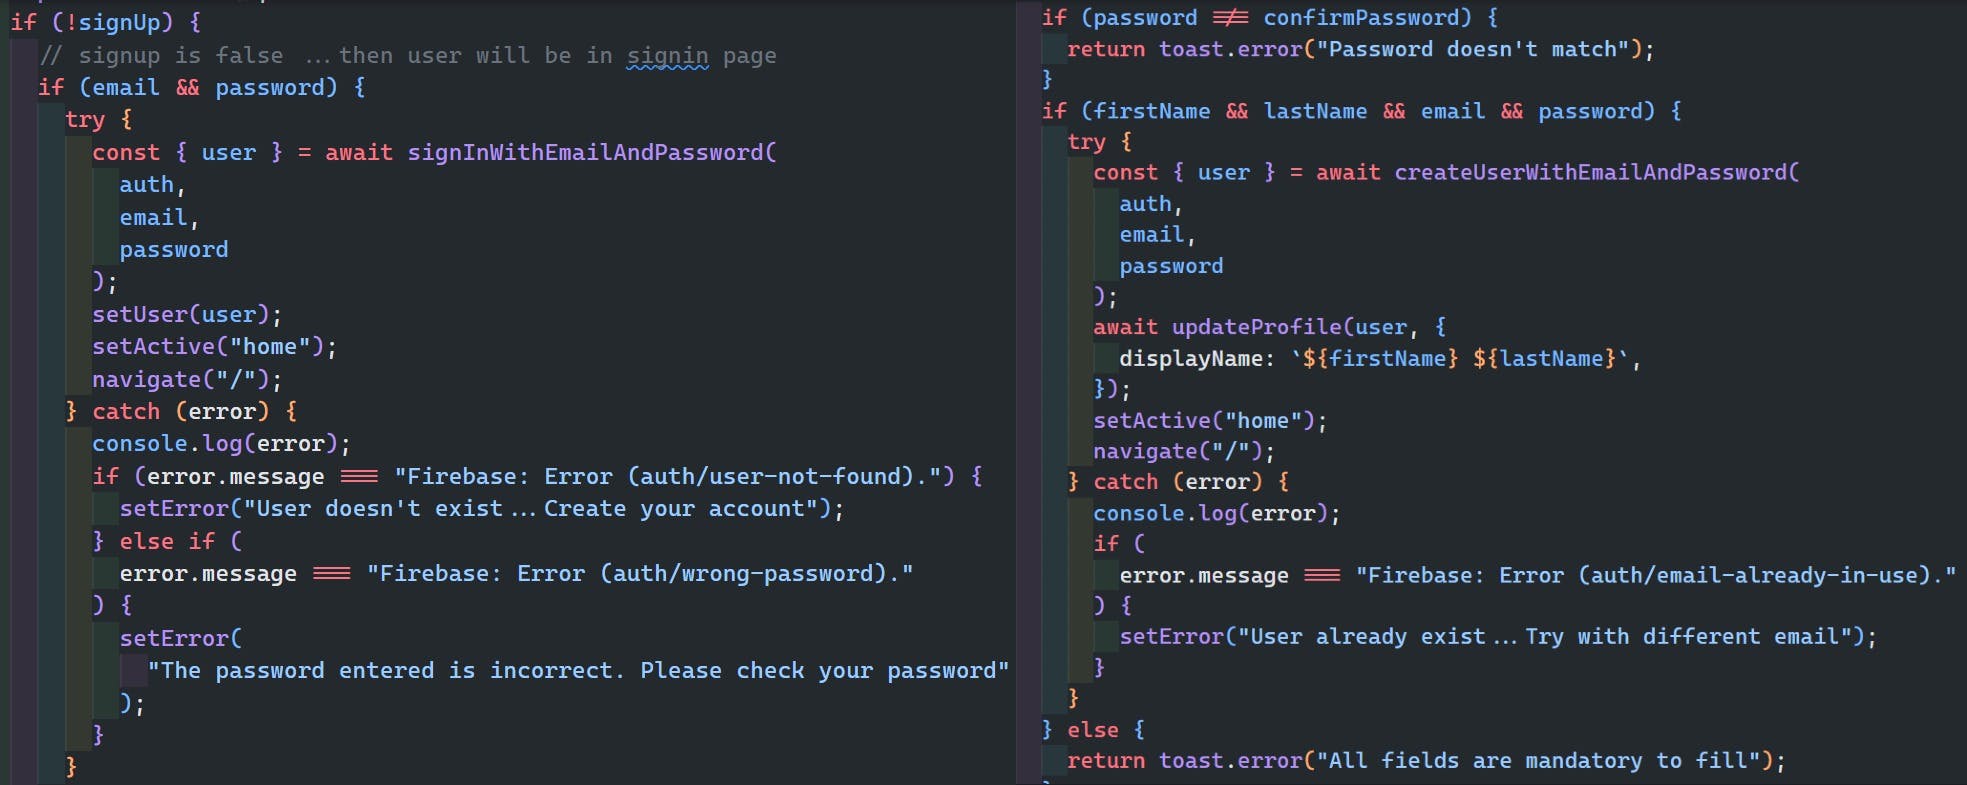
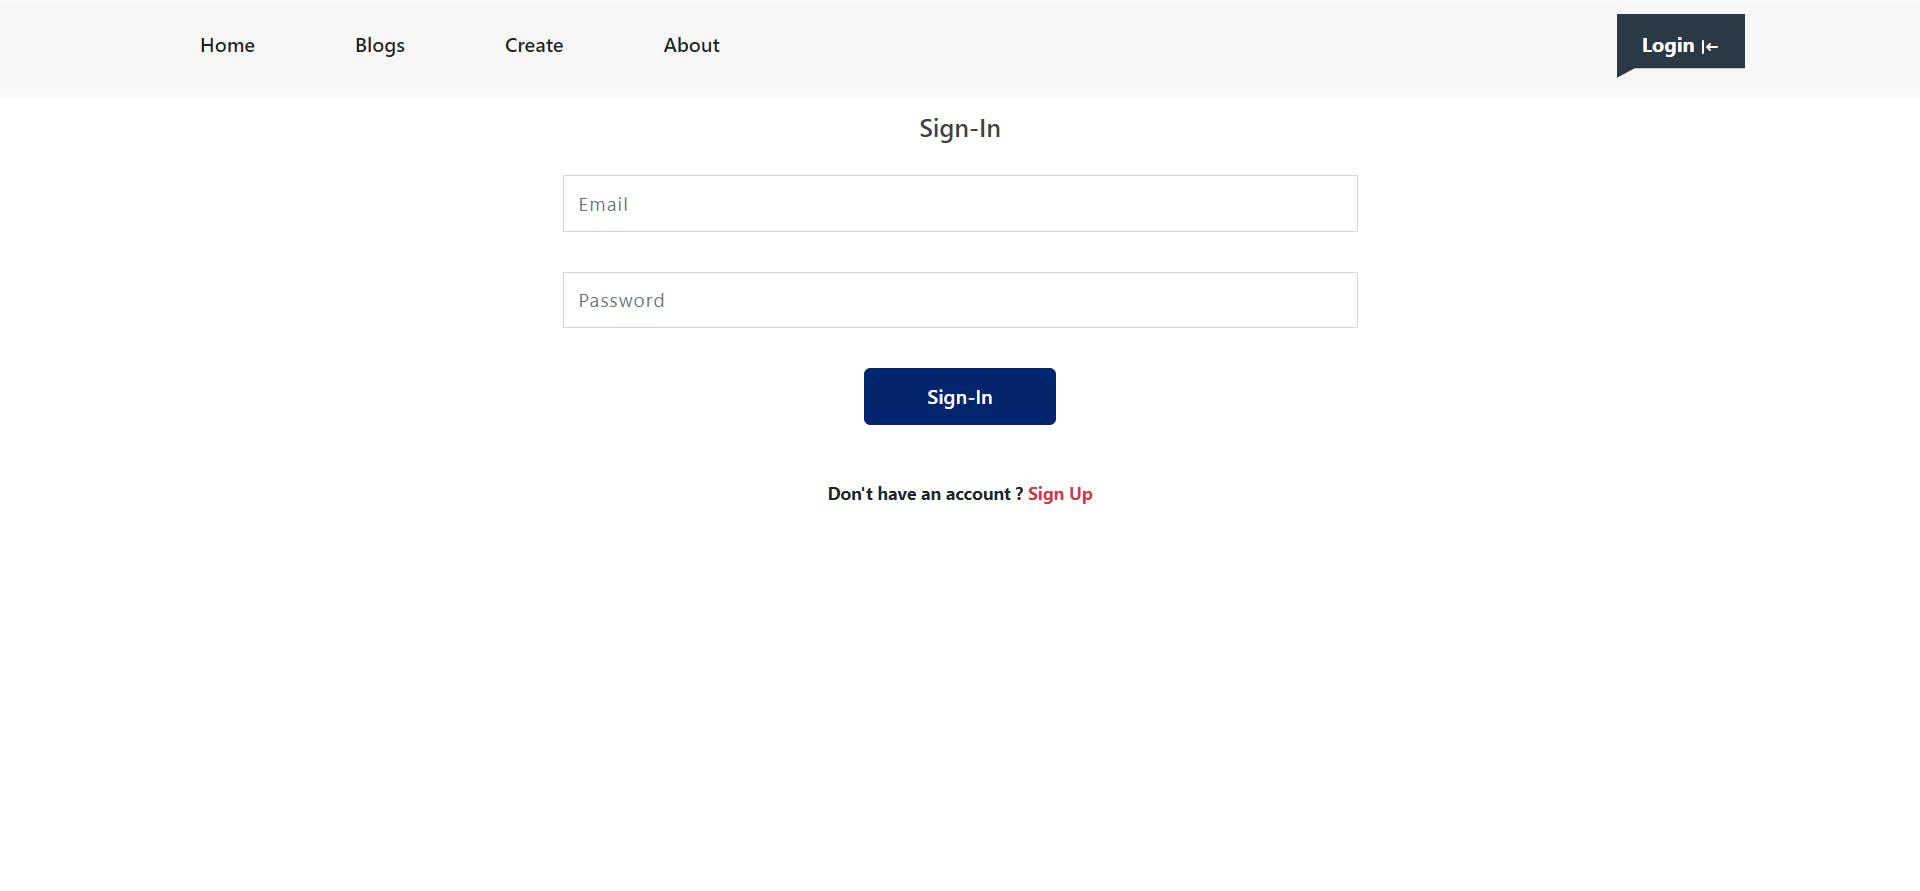

When I implemented the signin and signup forms, I used the same validation process for both forms to ensure that users enter valid information. This included checking that the email address is in the correct format and that it is not already registered with Firebase Authentication. By implementing the same validation for both forms, it helped me to streamline the validation process and ensure that users receive a consistent experience, whether they are signing up for a new account or signing in to an existing one. users first name and last name will be displayed in homepage.
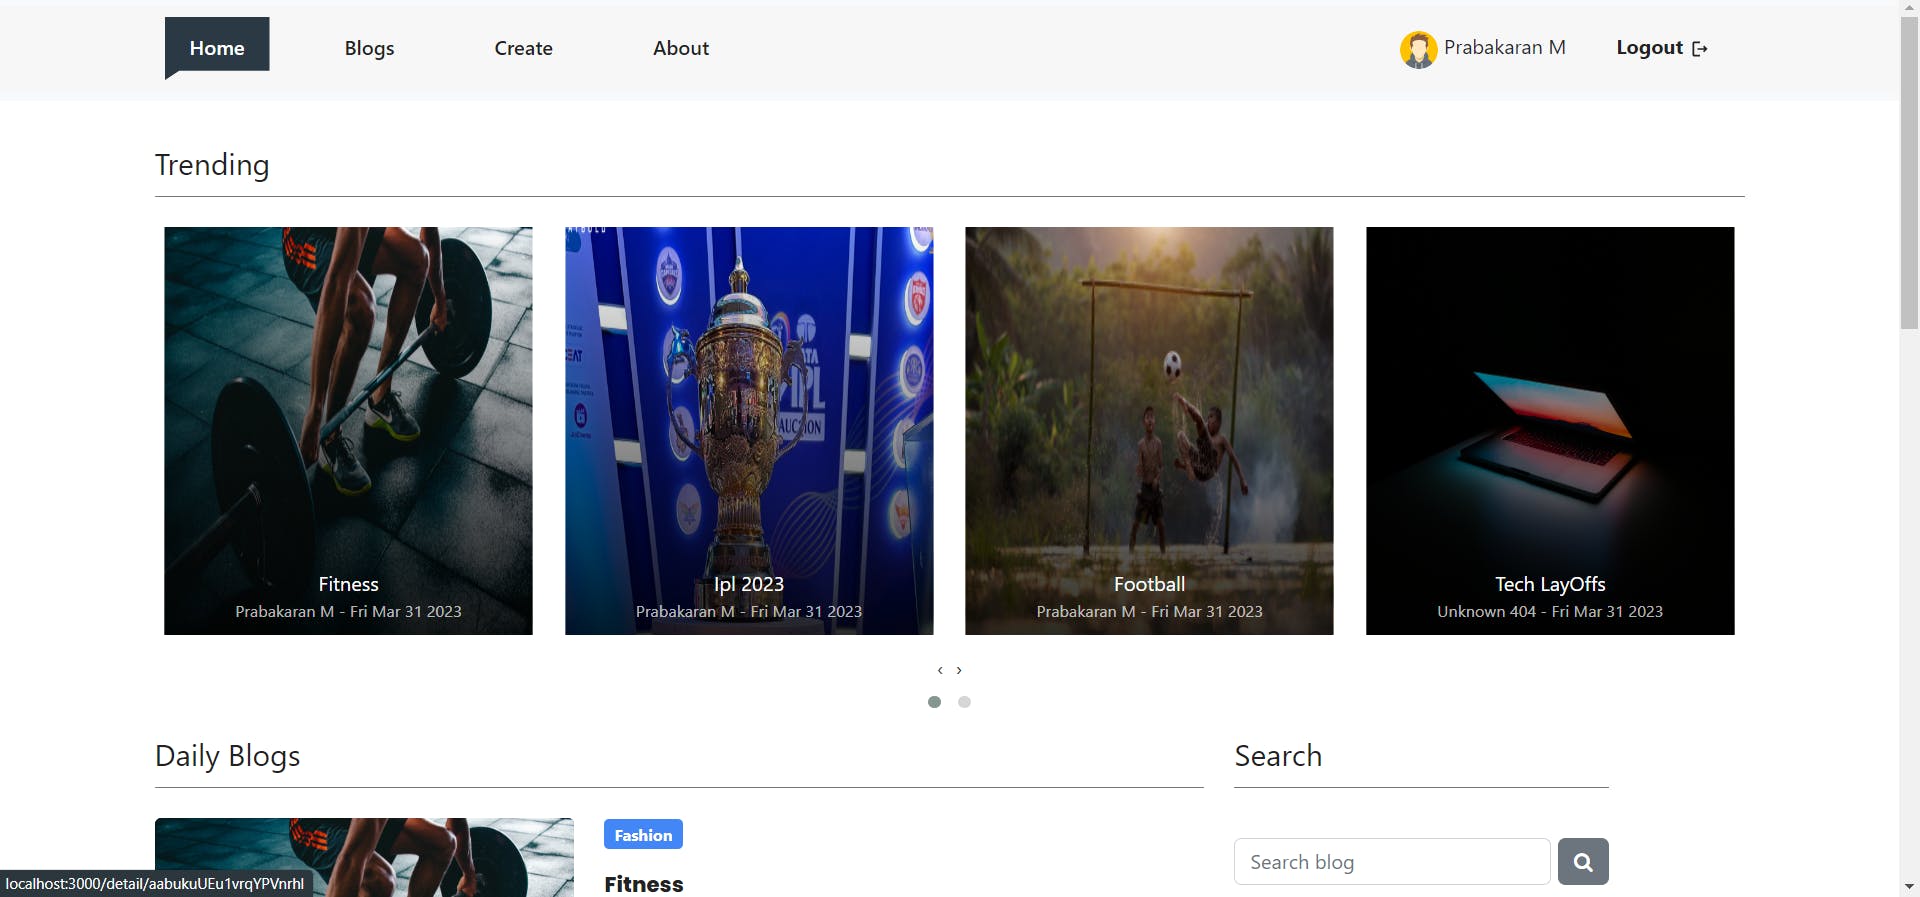
2.Home Page
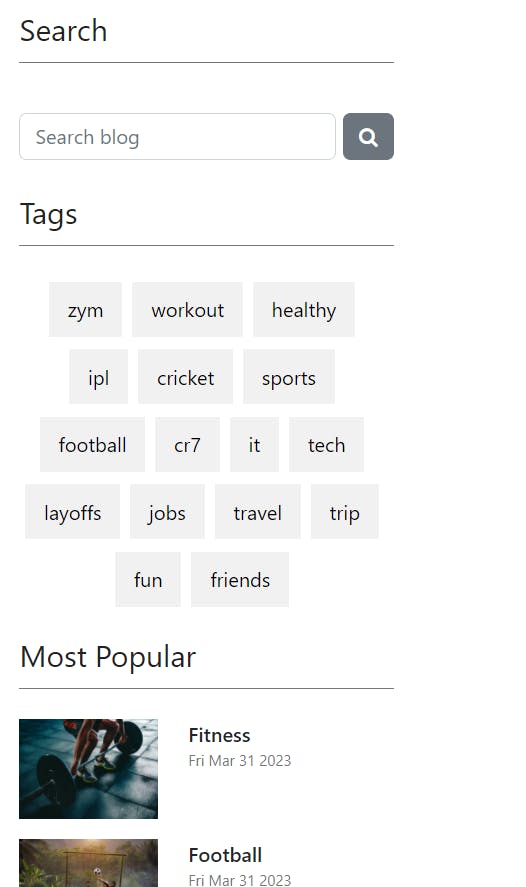
On the homepage, users can view all the blogs, along with their corresponding tags and categories. They can also see trending blogs and the most popular blogs.


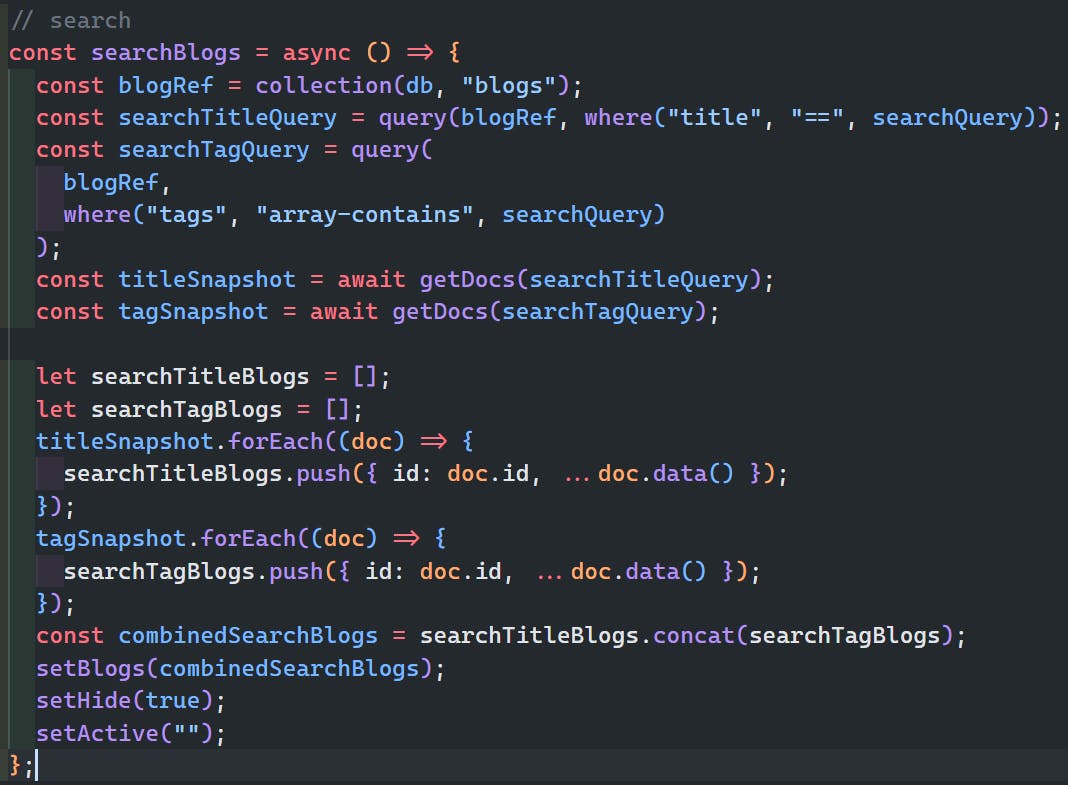
Users can search for blogs by title on the blog page. Additionally, by clicking on tags, they can view blogs related to that tag, and by clicking on a category, they can see blogs related to that category.
3.Blogs Page
On the blog page, users can view all the blogs in a paginated manner, meaning they can navigate through the pages to see more.


4.Create/Update Page
On the create page, users can create a blog by filling out the title,tags, category, description, and uploading images. They can also choose to mark the blog as trending, which will display it in the trending carousel. To create a blog, the user must be logged in. If the user is not logged in and clicks on the create button, they will be redirected to the login page. All the blog details will be stored in the Firebase database, while the images will be stored in Firebase storage. In every blog, users can see who posted the blog and the date it was posted.


Only the user who posted a blog can delete or update it. If another user tries to access these options, they will not be available. If the user who posted the blog clicks the edit button, they will be redirected to the create page with the old blog content pre-populated. They can modify the content as needed and update it, which will also modify the blog details in Firebase. Whenever a blog is created, deleted, or updated, the user will receive a toast notification.

5.Detail Page
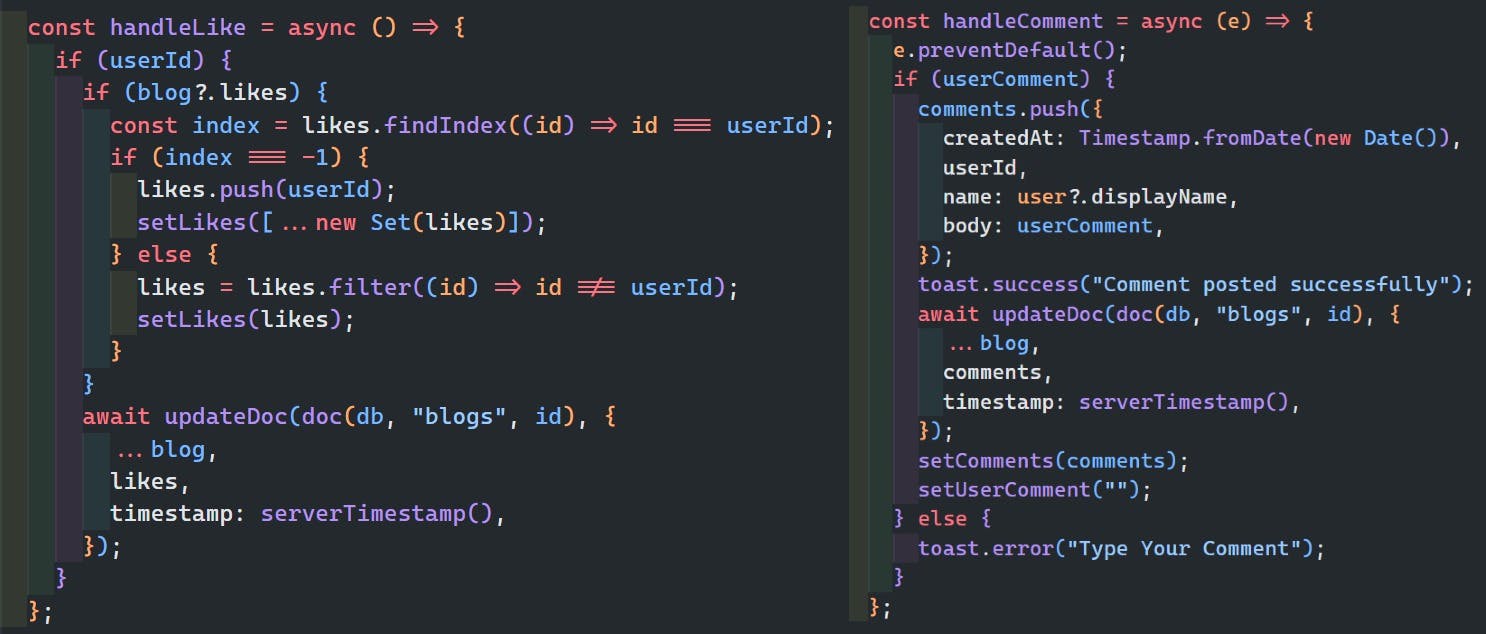
If a user clicks on the 'Read More' button, a tag, a most popular blog, or a blog image in the trending section, they will be redirected to the detail page. On the detail page, users can read all the content of the blog. If they wish to like or comment on the blog, they must be logged in. Additionally, on the details page, users can view related blogs based on the tags.


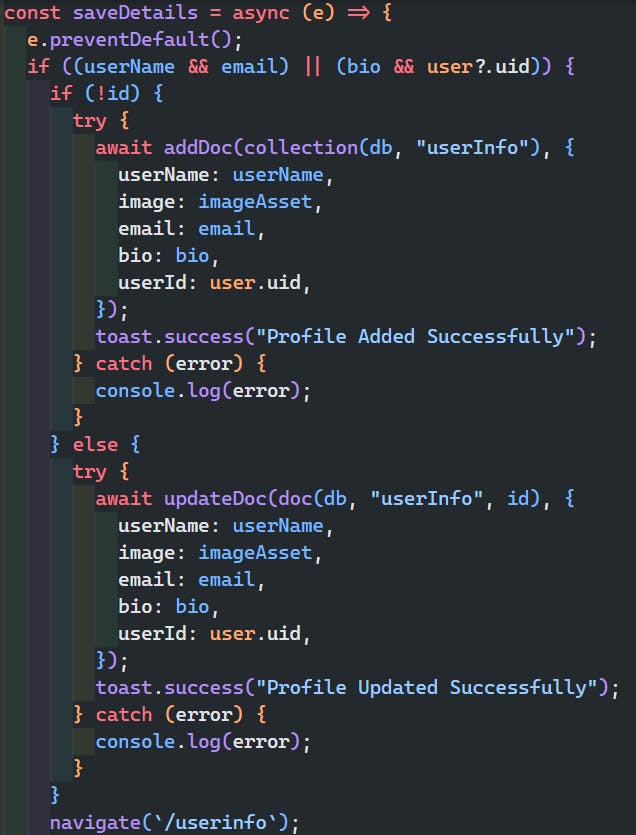
6.User Info & Add Profile Page
Our user info page displays the users profile information, including their name, contact details, and other relevant information. If the user has not yet created a profile, they can do so by
navigatingto theAdd Profilepage.On the Add Profile page, users can create a new profile by filling out a form with their personal details, including their name, email address, phone number, and other relevant information. Once the form is completed, the users profile is stored in
Firebaseand can be viewed on the user info page.The user info page retrieves the users profile information from Firebase based on their email ID. This ensures that the correct profile is displayed for each customer.
users can also edit their profile information by clicking on the 'Edit' button on the user info page. Any changes made to the profile information are automatically updated in Firebase, ensuring that the users details are always up to date.

Hooks :
- In this project, the
useStateanduseEffecthooks were used to manage the state. The useState hook was used to manage the state of the application, while the useEffect hook was used to handle updates to the blog. Whenever a blog was updated or deleted, or a user commented or liked a blog, it was saved in the Firebase database.I used theuseContexthook to send props to all components in our React Bolg project.